By Andri — Technical Writer & Crane Rope Specialist, Aulone (www.wireropes.net)
A wire rope splice interweaves the rope’s own strands back into itself to form a permanent eye or a continuous joint. Done properly, a hand-tucked eye splice typically retains around 90% of the rope’s minimum breaking load, a Flemish eye closed in a press approaches 100%, and a long splice keeps two ropes joined without any bump in diameter. Done badly — or used where it doesn’t belong, like a crane hoist line — a splice is a hidden weak point that no inspection table will forgive.
I’ve spent most of my career around rope workshops and rigging lofts, and splicing is a skill that looks harder from the outside than it is, and easier from the inside than it should be. In this guide I’ll walk through the two splices worth learning — the finished eye and the long splice — when each is the right answer, and when a splice is the wrong answer entirely.
What a Splice Actually Does to a Wire Rope
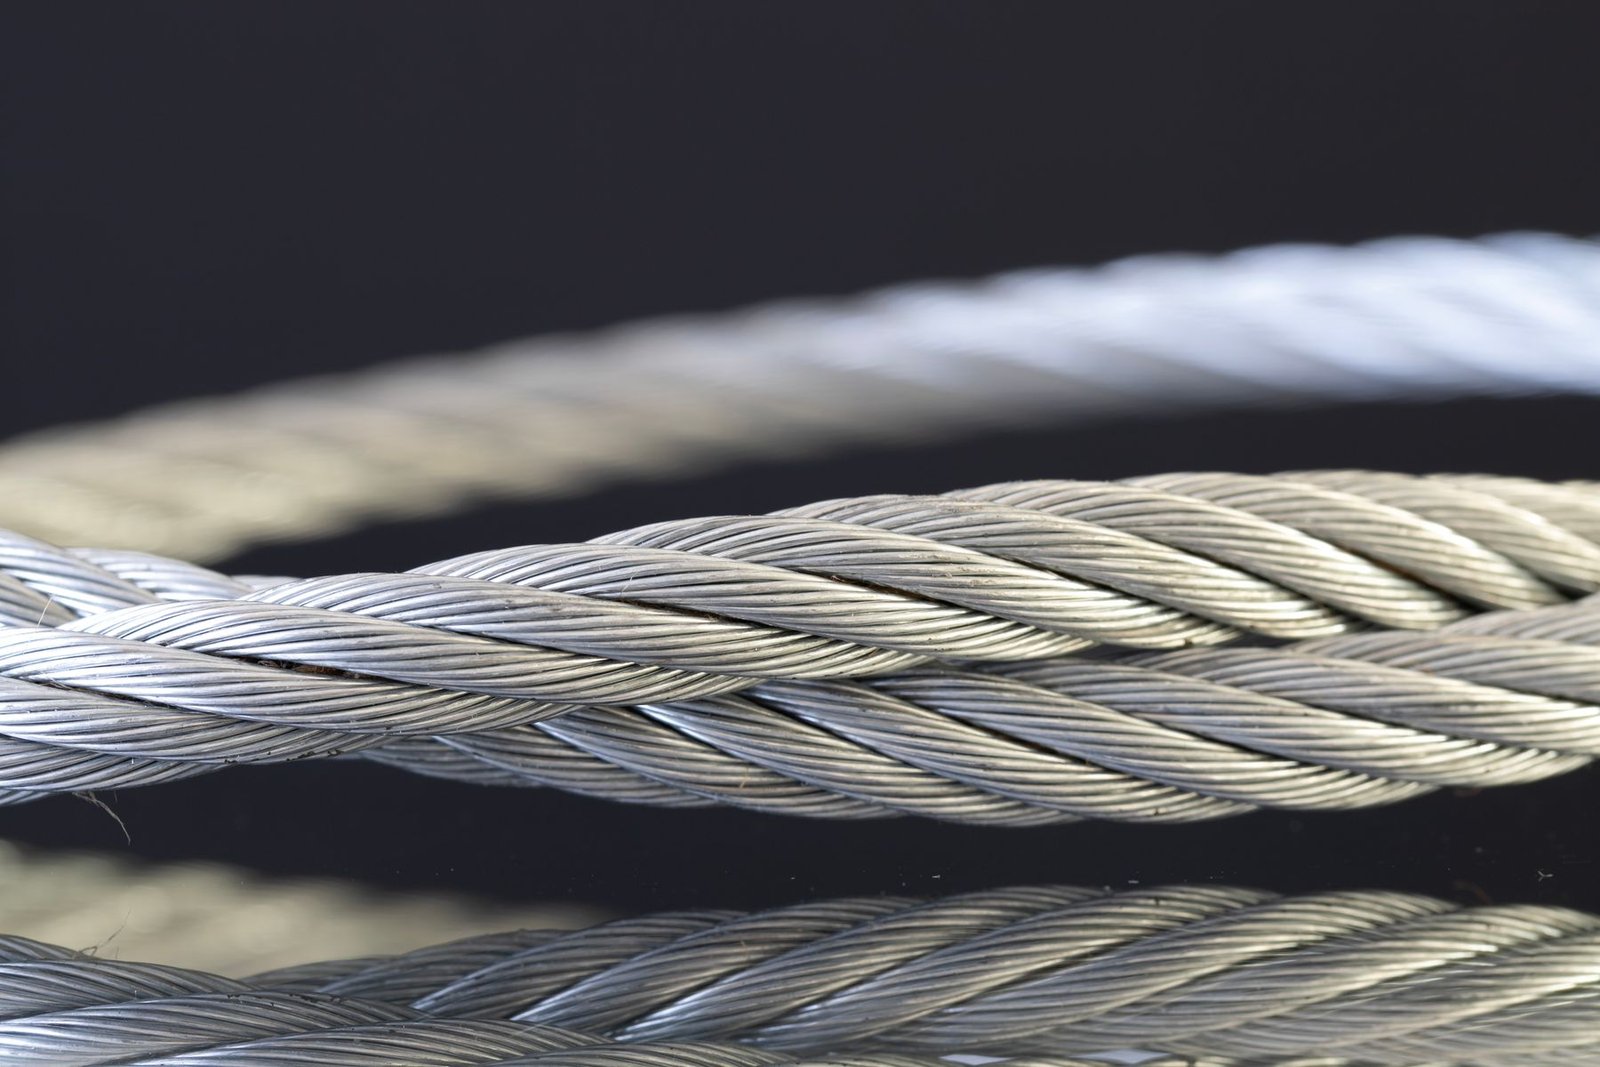
A wire rope gets its strength from geometry: helical strands laid around a core in a precise pattern, tensioned against each other. A splice interrupts that geometry. The strands are unlaid, bent around a thimble or married into another rope, and tucked back in so that friction and the lay of the rope hold everything under tension. Because the load passes from strand to strand through the tucks rather than through a single squeezed point, a good splice is far kinder to the rope than a knot, which can cut rope strength roughly in half.
The trade-off is workmanship. A splice has no stamped collar to inspect; its strength lives in how tightly the strands were tucked and whether the first round of tucks was set correctly. I’ve tested splices from the same reel that broke at 96% of the rope’s minimum breaking force and, from a careless hand, closer to 70%. The difference isn’t the rope. It’s the hands.

The Splices and Terminations You’ll Actually Meet
Before we get to technique, it helps to see the whole menu. Not every eye or joint is a hand splice, and knowing where each termination sits on the strength-and-convenience scale is half the buying decision.
| Termination | Typical efficiency* | Diameter change | Best for | Avoid when |
|---|---|---|---|---|
| Flemish eye + swaged ferrule (press splice) | ≈ 100% | Slight, smooth collar | Wire rope slings, permanent assemblies, volume production | No press available; one-off field repair |
| Hand-tucked eye splice (with thimble) | ≈ 90% (70–90% by skill) | Bulge at the tucks | Static pendants, guy lines, mooring eyes, spare eyes on slings | Rope must run over sheaves |
| Long splice (ran splice) | ≈ 75–90% | None — rope stays same diameter | Endless slings, joining winch or tow lines, re-roping without re-threading | Crane hoist ropes, rotation-resistant constructions |
| Short splice | ≈ 70–90% | Large bulge (double diameter) | Block straps, tackle work where the bump doesn’t matter | Anything passing a sheave or drum |
| Wire rope clips (U-bolt) | ≈ 80% | Clips stand proud | Field terminations, temporary, adjustable | Permanent slings (banned by most sling standards) |
| Hasty eye (rolled-back eye, seized) | ≈ 70% | None | Emergency only | Hoisting loads — ever |
| Knot | ≈ 50% or less | Severe kink | Nothing structural | Always, on wire rope |
*Indicative values from common rigging references and standard practice such as ASME B30.9 and the EN 13411 termination series. Actual efficiency depends on rope construction, diameter, workmanship and the standard you’re working to — always confirm against the test certificate.
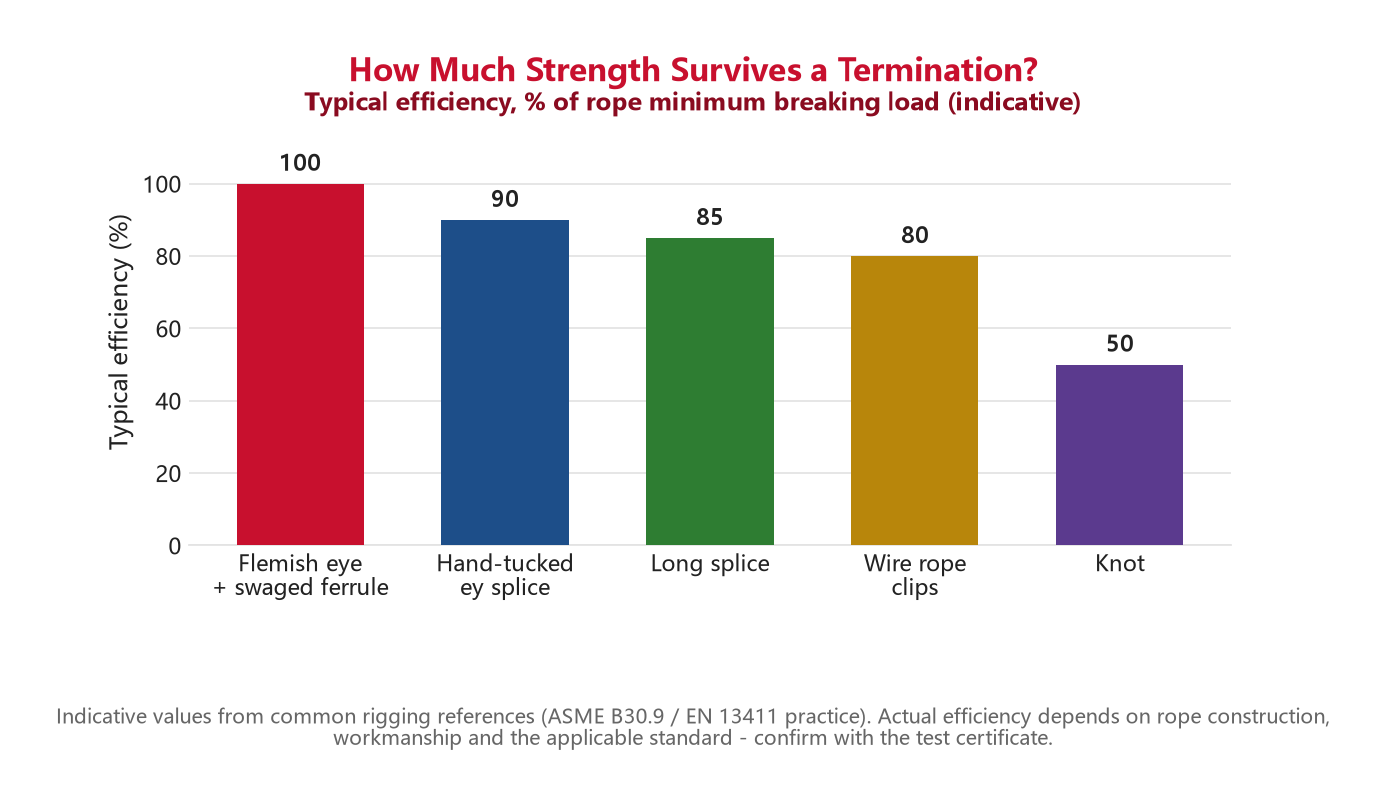
Notice the pattern: the more the termination works with the rope’s construction, the stronger it is. A Flemish eye re-forms the rope’s own lay and lets a press clamp it into a seamless collar. A hand tuck asks the rope to hold itself together through tucks. Clips squeeze from outside. A knot just crumples the geometry.
How to Make a Finished Eye Splice (Hand Tuck)
This is the splice most riggers need. It puts a reinforced loop — ideally over a thimble — in the end of a 6-strand round rope. Here’s the procedure I teach, for right-hand ordinary lay rope:
1. Prepare and seize
Decide the eye size (around the thimble it will carry) and mark the crown point. Seize the rope tightly on both sides of that point with soft seizing wire or marline — each serving about three rope diameters long. Good seizings are half the splice: they stop the strands unwinding further than you want and keep the lay tight while you work.
2. Unlay the strands
Cut the rope end cleanly (a cutting disc, not bolt cutters — crushed ends are miserable to tuck). Unlay the six strands back to the seizing. On a rope with an independent wire rope core, cut the core back a little shorter than the strands so it doesn’t protrude and lump the first tuck. Tape or whip each strand tip so wires don’t fray into your gloves.
3. Bend the eye and set the thimble
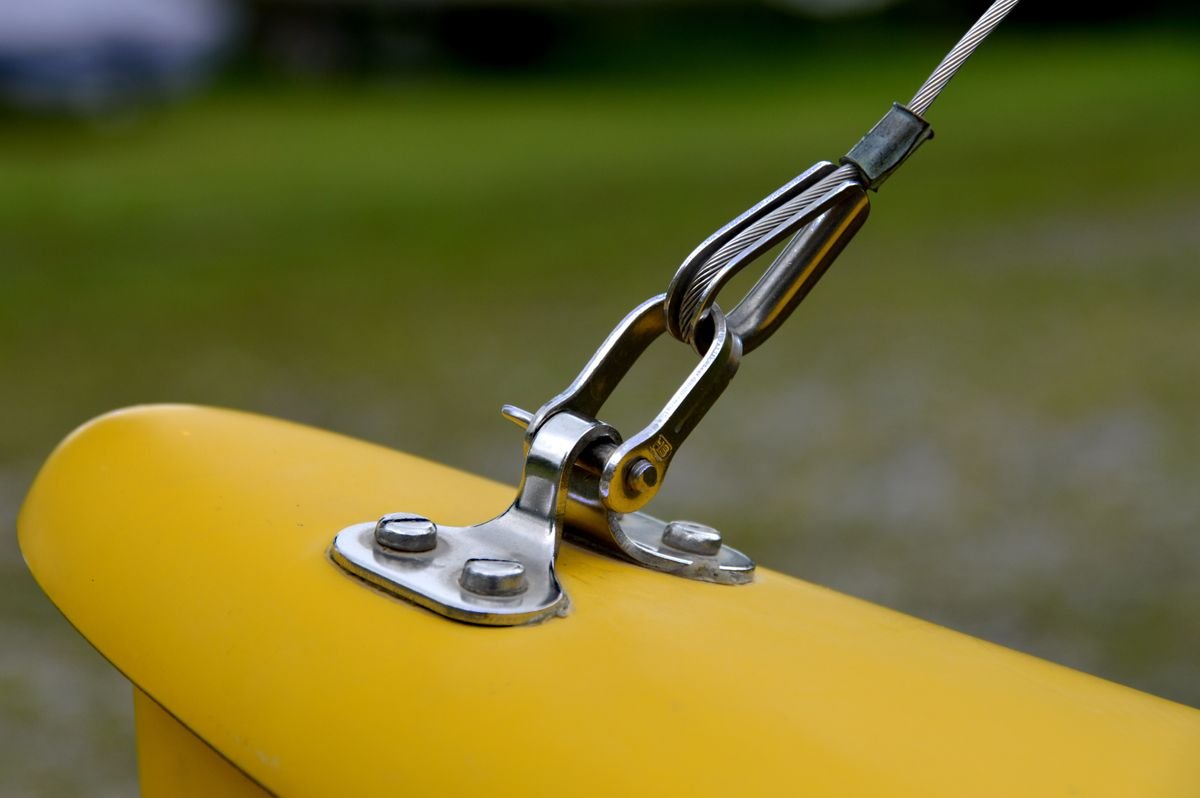
Form the eye around the thimble and seize the thimble in place at the crown. A thimble is not optional for a working eye — it stops the sharp bend and the shackle pin from eating the inside of the loop. Army and workshop references both put a well-made thimble eye at roughly 70–90% efficiency; without the thimble, expect the low end.
4. Tuck — against the lay
The classic requirement is at least three full tucks and two half tucks, made against the lay of the rope. Lift one standing strand, pass a working strand under it against the twist, over the next, and under the following one — the same motion as a fiber-rope splice but with a spike and considerably more swearing. Work each strand until it is snug, then go around all six. After the third full tuck, cut half the wires out of each strand, tuck again, then cut back to the remaining third and make the final half tucks. That taper is what makes the splice run smooth and pulls the efficiency up toward the top of the range.
5. Finish and test
Hammer the tucks down flat, working from the eye toward the rope body. Trim protruding wires flush and serve the throat with seizing wire to stop the tucks easing. Before the eye takes real load, proof it: pull the assembly to roughly twice its maximum working load in a controlled test and re-check the tucks. If a strand has slackened, you’ll see it at 2×, not at 90 meters up.
How to Make a Long Splice
The long splice (sometimes called a ran splice) joins two ropes — or the two ends of one rope to make an endless sling — without increasing the diameter. That’s its whole reason for existing: the joint can pass over a drum or through a system where a short splice’s bulge would jam or hammer the sheaves to death. It’s also weaker and far more laborious than a short splice, so it’s worth it only where the smooth diameter matters.
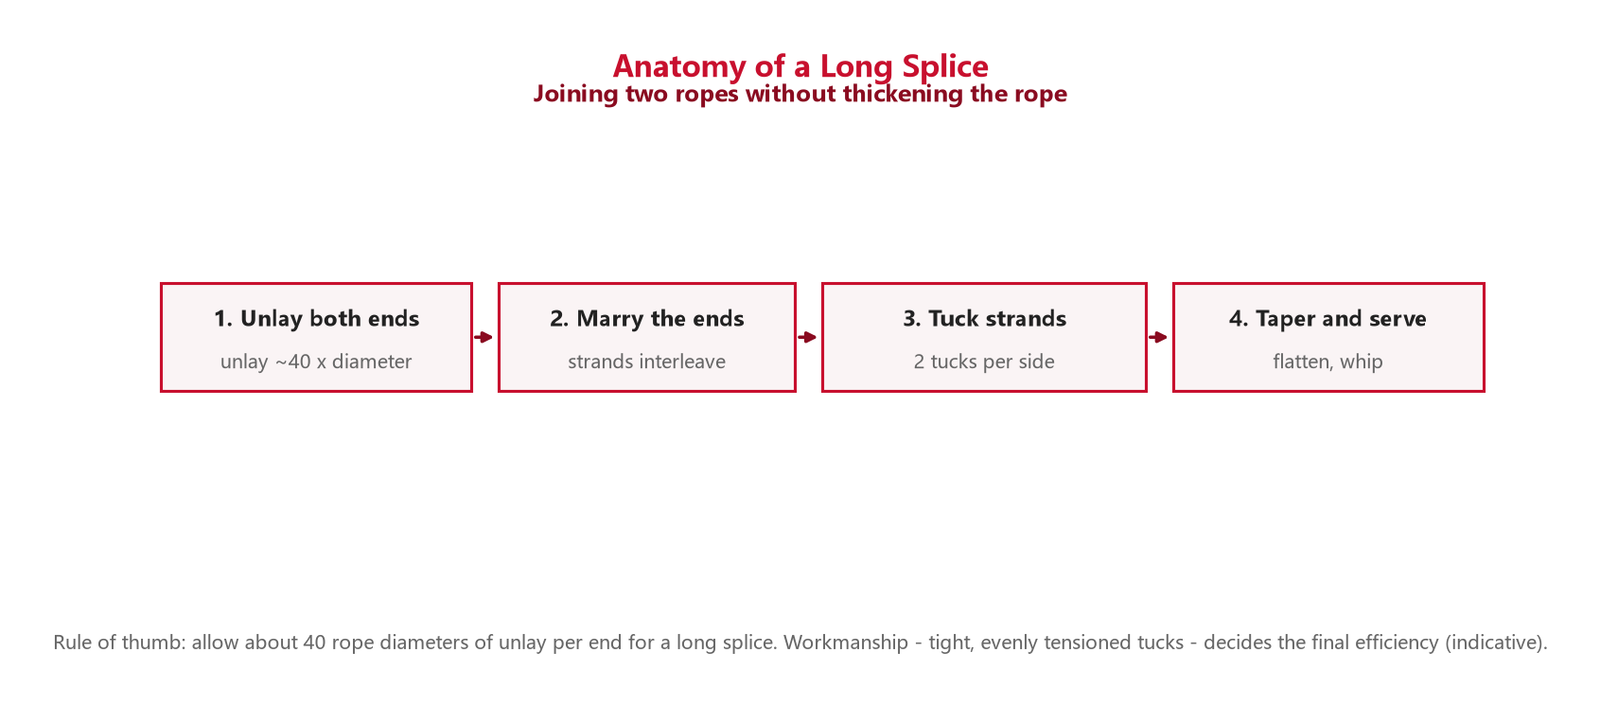
The classic rule of thumb: unlay about 40 rope diameters at each end (short splice: about 20). So for a 20 mm rope, you’re unlaying roughly 800 mm of strand at each end — measure generously, because you can cut off spare but not conjure it back.
The procedure in outline:
1. Unlay and marry
Unlay both rope ends by the calculated length and seize the strand tops. Butt the two ropes together and “marry” them — lay the strands of one rope into the grooves of the other so each strand of rope A sits beside its two neighbors from rope B. The ropes now read as one continuous rope; temporarily seize the marriage so it can’t wander.
2. Tuck the opposing strands
From each side of the marriage, tuck the unlaid strands of one rope into the other — two tucks per strand is the usual minimum for a long splice, laid with the lay so the joint stays slim (this is the notable exception to the against-the-lay rule used in eyes). Pull every tuck dead tight; slack tucks in a long splice concentrate load on their neighbors and the splice creeps apart in service.
3. Taper and finish
After the second tuck, stopper back about a third of the wires in each strand, tuck a third time with the remainder, then halve again and make a final short tuck. Hammer everything flat, trim flush, and serve the whole splice area. Done well, you can roll a long splice across the floor and struggle to find it by eye.
4. Check it before service
Run the spliced rope slowly over a sheave (if that’s its duty) at light load and watch the marriage. Any strand that loosens or any growth in diameter means the tucks weren’t set — cut the splice out and start again. A long splice that has begun to breathe will not heal itself.
Sizing the Splice: How Much Rope to Allow
The most common field mistake isn’t technique, it’s measuring. If you cut the unlay too short, you can’t make the full number of tucks, and a splice with fewer tucks is just a decorative weak point. Use this table as a planning guide (values are indicative workshop allowances — your rope supplier’s splicing instructions take precedence):
| Rope diameter | Eye splice: strand tuck allowance (each strand) | Long splice: unlay allowance (each end) | Full tucks |
|---|---|---|---|
| 6–10 mm | ≈ 15–20 × d | ≈ 40 × d | 3 full + 2 half |
| 13–16 mm | ≈ 15–20 × d | ≈ 40 × d | 3 full + 2 half |
| 18–22 mm | ≈ 18 × d | ≈ 40 × d | 3 full + 2 half |
| 24–32 mm | ≈ 18–20 × d | ≈ 40 × d | 3 full + 2 half |
| 36–44 mm | ≈ 20 × d | ≈ 40 × d (allow extra for Lang’s lay) | 3 full + 2 half, then taper |
Two practical notes. First, Lang’s lay rope wants a slightly longer splice than regular lay, because the strands’ tendency to untwist is higher — some references recommend crossing the strands where they pass each other to add holding power. Second, for rotation-resistant constructions such as 35×K7 or 19×7, don’t field-splice at all: the inner layers have their own lay, and a hand splice that only re-forms the outer strands leaves the rope’s rotation balance destroyed.
Where Splices Don’t Belong
This is the part I most want you to remember, because it’s the part people get wrong under deadline pressure:
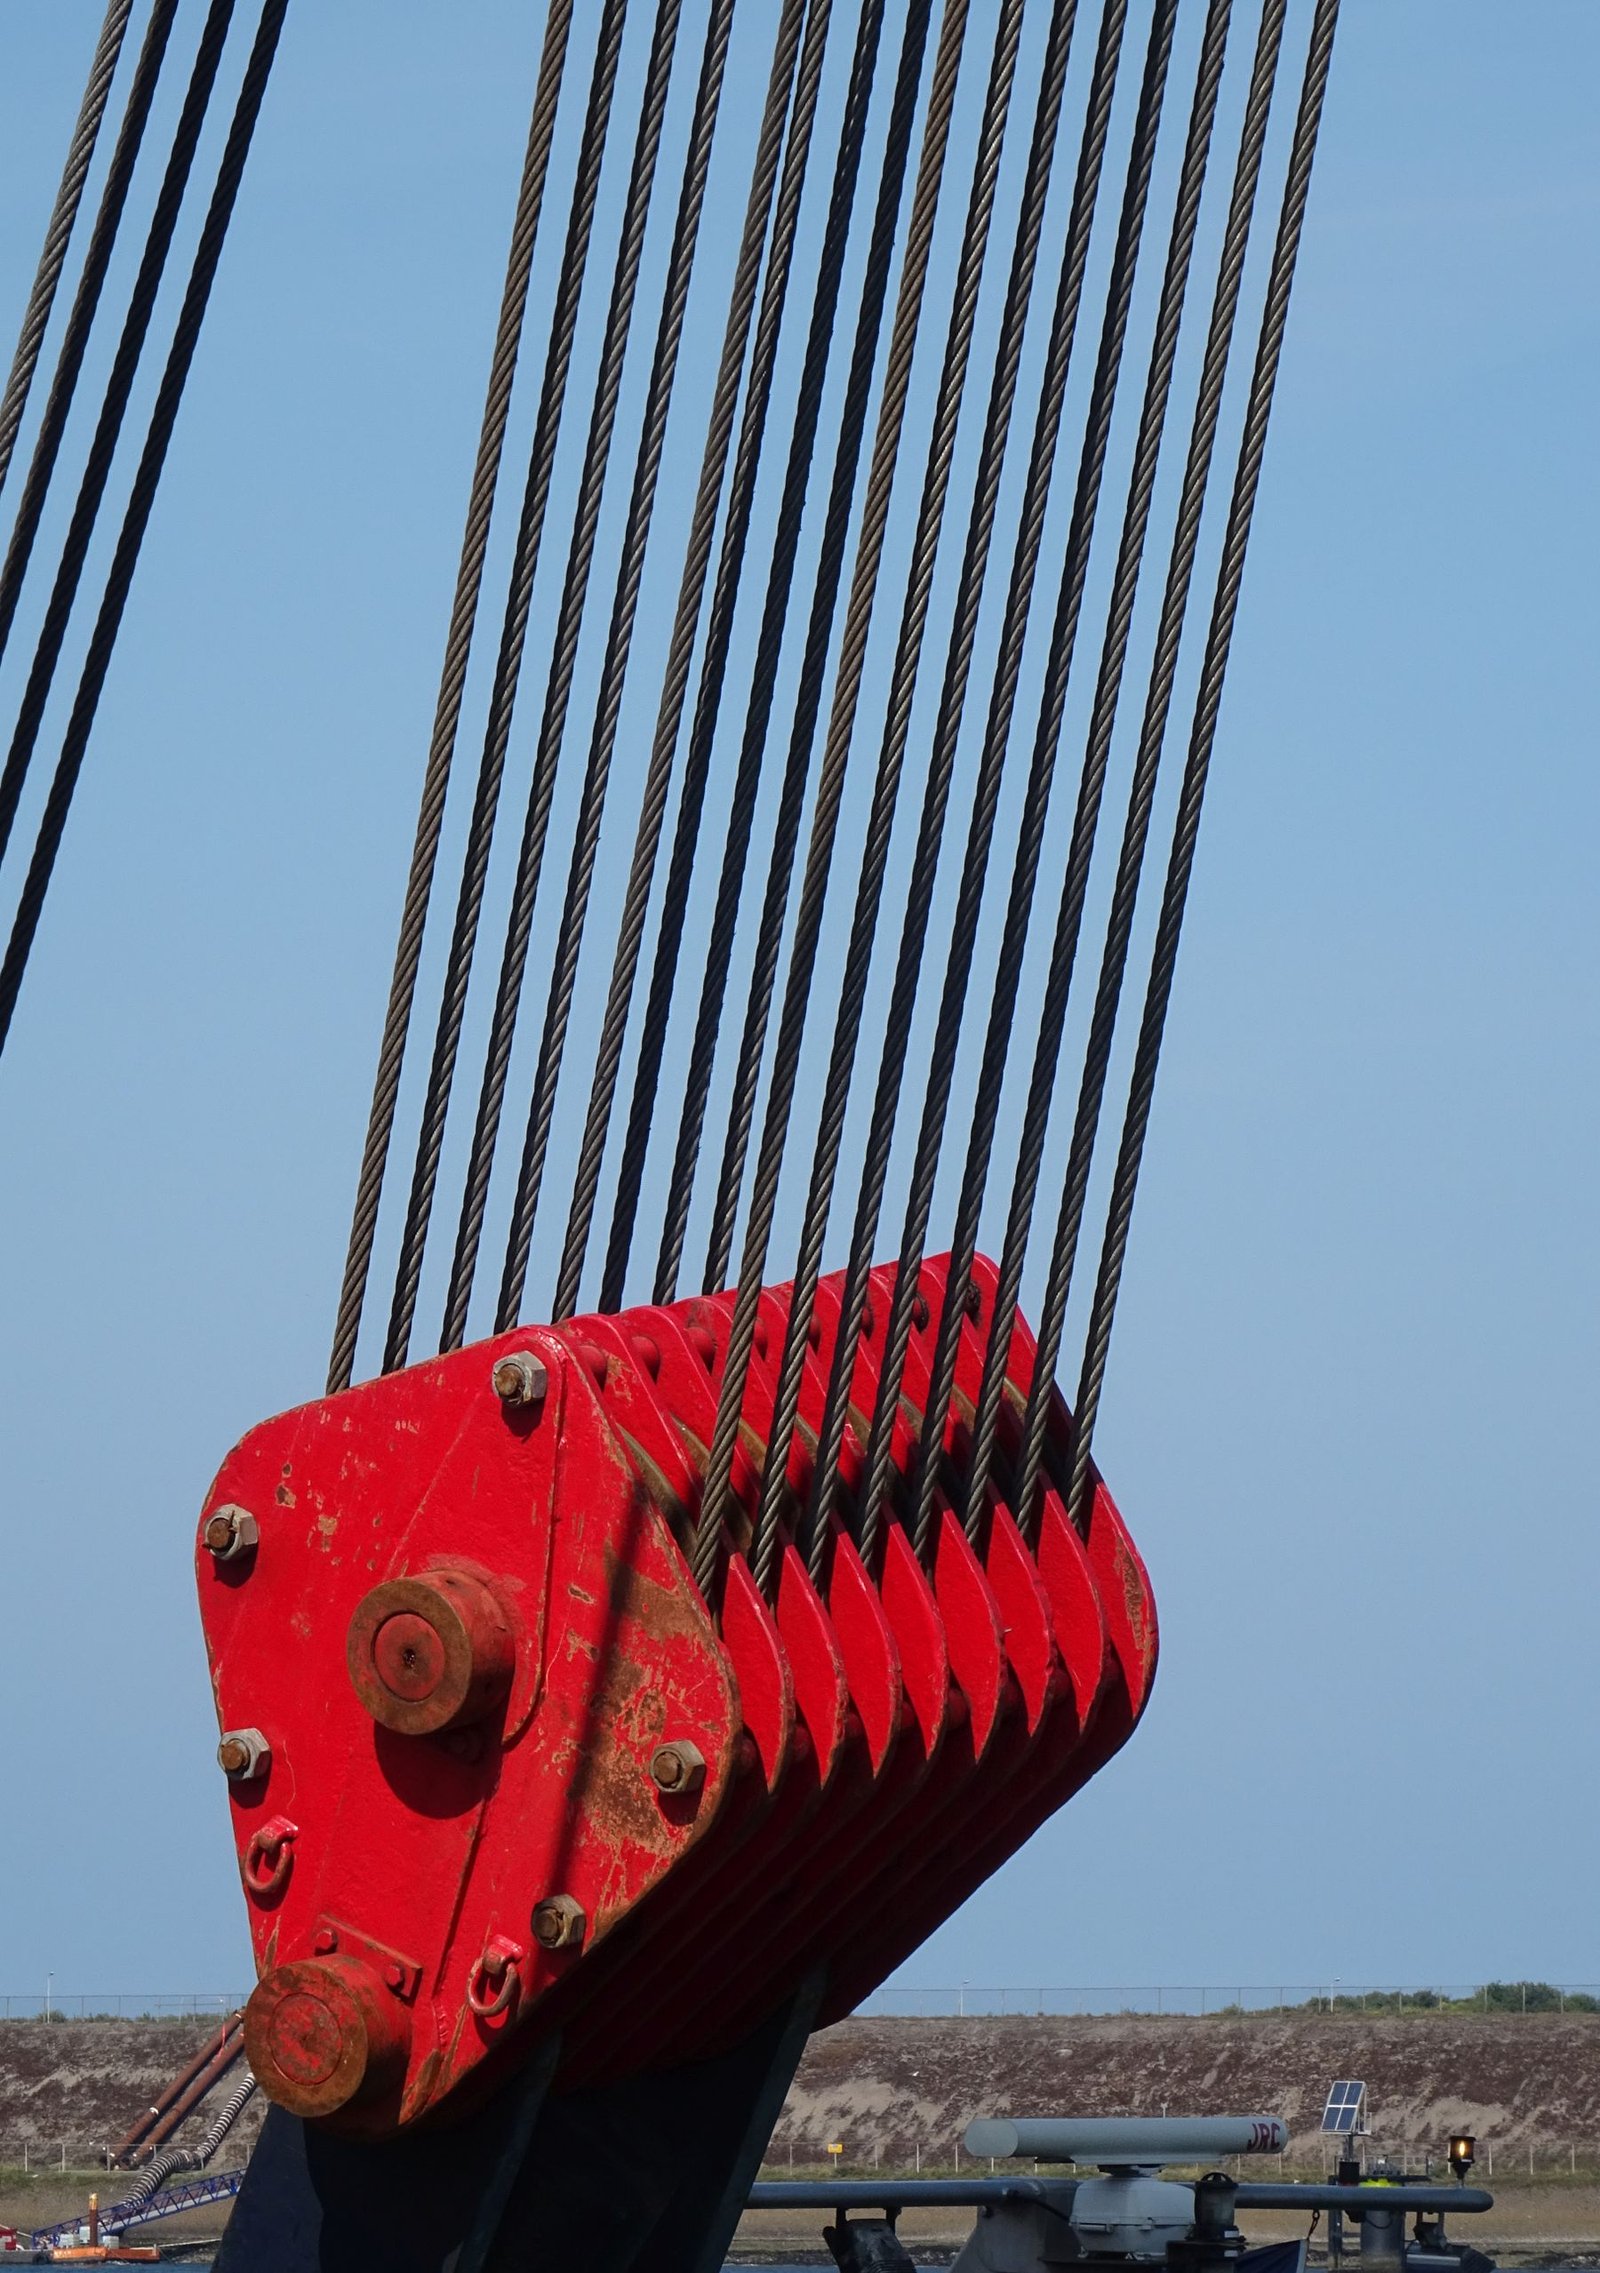
- Crane hoist ropes. A running rope that winds onto a drum and passes over sheaves must be one continuous length. No eye splices, no long splices — the bulge hammers the sheave grooves and the tucks get chewed apart. If your hoist rope end needs a termination, use a socket or a properly made pressed fitting. We cover the choices in our wire rope terminations and fittings guide, and the socket-specific trade-offs in the wedge vs spelter socket guide.
- Rotation-resistant ropes. 35×K7, 19×7 and similar multistrand non-rotating constructions depend on balanced inner and outer lays. Splicing destroys the balance. Terminate these with fittings or replace the rope.
- Elevator and man-riding ropes. The applicable standards require continuous ropes; a splice is an automatic rejection.
- Slings that must pass inspection. Most sling standards allow spliced eyes only when fabricated by a competent sling maker to the relevant standard — the EN 13411 termination series governs spliced eyes in Europe, and ASME B30.9 sets the requirements for wire rope slings in the US market. A field-spliced eye on a certified sling is an easy way to fail a third-party audit.
So where do splices shine? Endless grommet-style slings and tidemans, pendant and guy eyes on static installations, mooring and towline eyes where a socket isn’t available, joining long winch lines so you don’t have to re-thread the whole system, and temporary extensions on non-critical, non-running lines. Used inside those boundaries — and proof tested — a splice is a genuinely useful tool rather than a liability. If you want the proof-testing method itself, we’ve written a full guide to wire rope proof load testing.
The Workshop Alternative: Flemish Eye and Pressed Ferrule
If the eye is going on a certified sling, skip the hand tuck and do what sling shops do: a Flemish eye (the “Molly Hogan”). Unlay the rope into two bundles of three strands, bend the bundles back around the thimble so they re-lay into each other, and close the whole tail in a press with an aluminum ferrule — the Talurit-type method. Because the strands re-form the rope’s own geometry and the ferrule mechanically locks them, this termination typically tests at or near 100% of the rope’s minimum breaking force, and every sling we fabricate this way comes with a certificate and a rated tag.
That’s the honest distinction: hand splicing is a field skill, Flemish-plus-press is a manufacturing process. When a customer needs a batch of certified slings, Aulone is a professional manufacturer and supplier of steel wire ropes, wire rope slings, synthetic ropes and rigging hardware for lifting, marine, mining, construction and industrial applications, and we’ll almost always specify the pressed Flemish eye — not because hand splices are bad, but because a press, a die set and a proof load give you repeatability that a hand can’t match across a hundred slings.
Inspecting a Splice in Service
Once a splice is working, it joins the rope’s inspection routine. What we look for, in rough order of how much I care:
| Defect | What you see | What it means |
|---|---|---|
| Slack or proud strands | A strand standing above its neighbors at the tucks | Load share is unequal; the splice is shedding strength every cycle. Re-splice or derate and replace. |
| Corroded tucks | Rust bleeding from between strands at the splice | Moisture has penetrated the tucks; internal wires may be corroding invisibly. Probe with a spike; replace if wires are pitted. |
| Broken wires at the throat | Broken wires concentrated at the eye’s neck or the first tuck | Bending fatigue at the hardest-worked point. Apply the same discard criteria you’d use on the rope body (see ISO 4309 practice) — usually replace. |
| “Long-jawed” eye | Eye has pulled narrow and elongated | The splice was under-tucked or the thimble undersized. The eye will keep deforming; replace. |
| Ferrule displacement | Pressed collar has shifted or the rope has pulled through slightly | The termination is failing systematically — quarantine the sling immediately. |
Frequently Asked Questions
How strong is a wire rope splice compared to the rope itself?
A hand-tucked eye splice with a thimble typically retains about 90% of the rope’s minimum breaking load when well made, with field results ranging from roughly 70% to 90% depending on workmanship. A Flemish eye closed in a press typically reaches about 100%. A long splice typically falls around 75–90%. These are indicative figures — the only number that counts is the one on the test certificate for the actual assembly.
Can you splice a crane wire rope?
No. Crane hoist ropes are running ropes: they wind on drums and bend over sheaves thousands of times. A splice’s bulge and tucks cannot survive that duty and will damage the sheave grooves. Hoist ropes must be continuous lengths with mechanical terminations. The same applies to rotation-resistant constructions regardless of duty.
What’s the difference between a long splice and a short splice?
A long splice joins two ropes with no increase in diameter — strands from each rope are tucked into the other over a long distance (roughly 40 rope diameters per end). A short splice is quicker and slightly stronger but doubles the diameter at the joint, so it only suits block straps and places where the joint never passes over a sheave or drum.
How many tucks does a wire rope eye splice need?
The traditional and widely used requirement is at least three full tucks plus two half tucks against the lay, with the strands tapered after the third tuck. Some modern standards and rope makers specify their own patterns — for a certified sling, follow the sling standard and the rope manufacturer’s splicing instructions.
Do you always need a thimble in a spliced eye?
For any eye under repeated or heavy load, yes. The thimble supports the eye’s radius and stops the shackle pin from crushing the loop closed. Bare spliced eyes deform, chafe and lose efficiency quickly — the hasty eye (a bare, seized loop) is rated around 70% and shouldn’t hoist anything.
What length of rope do I need to allow for a splice?
Workshop rules of thumb: about 40 rope diameters of unlay per end for a long splice, about 20 diameters for a short splice, and roughly 15–20 diameters of tuck length per strand for an eye splice. Then add the eye circumference itself, plus a margin for the seizings and trimming. When in doubt, allow more — you can only cut rope shorter.
Is a spliced eye better than wire rope clips?
For a permanent termination, usually yes. A well-made tucked eye typically retains about 90% of rope strength versus roughly 80% for a correctly installed clip system, and it can’t loosen the way clips do under vibration. Clips still have their place for field, temporary or adjustable connections — installed correctly, saddle on the live end, never “saddling a dead horse”, with the right number of clips at the right spacing and torque.
How do I know if a splice is safe to keep using?
Inspect it with the rope: tight strands flush with the surface, no broken wires concentrated at the tucks or throat, no corrosion weeping from between strands, the eye holding its shape around the thimble. Any slack strand, deformation or broken-wire cluster at the splice is grounds for replacement — a splice that has started to fail doesn’t recover, and the discard criteria for the rope body apply to the splice too.
Need rope supplied with certified eyes, pressed Flemish eye slings, or advice on the right termination for your duty? Our team covers the full range — from basic splicing how-tos to custom assemblies with third-party testing — and you can reach us at info@wireropes.net. With over 20 years in the trade, 200,000 tons of annual capacity and stock ready to ship, we can answer fast. All figures here are indicative; the applicable standard and your rope’s certificate take precedence.