A poor cut can loosen strands, waste rope, and weaken a planned termination. I often see damage start before the rope even reaches the machine.
I cut wire rope cleanly by identifying its construction, securing both sides of the cut, choosing the right cutter, making one controlled cut, and inspecting the end before I install any fitting.
I once received photos of a rope end that looked like a steel brush. The rope was correct. The cutting method was not. A better tool and simple seizing solved the problem.
Why Does a Clean Wire Rope Cut Matter?
I treat the cut end as the starting point of every reliable termination. A damaged end creates problems that no sleeve or socket can fully hide.
A clean cut keeps wires and strands in their designed positions. It makes measurement, socketing, swaging, splicing, and inspection more reliable while reducing waste, handling injuries, and hidden assembly defects.
I Protect the Rope Geometry
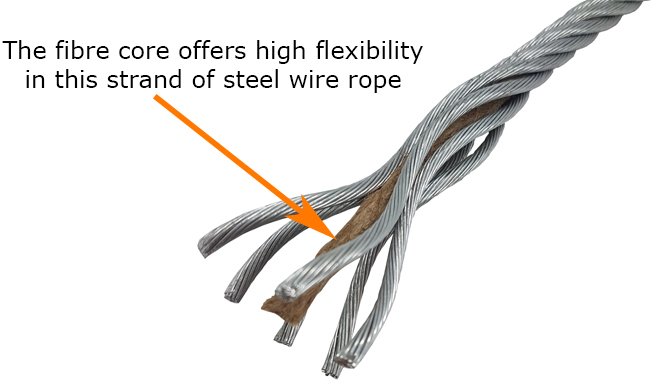
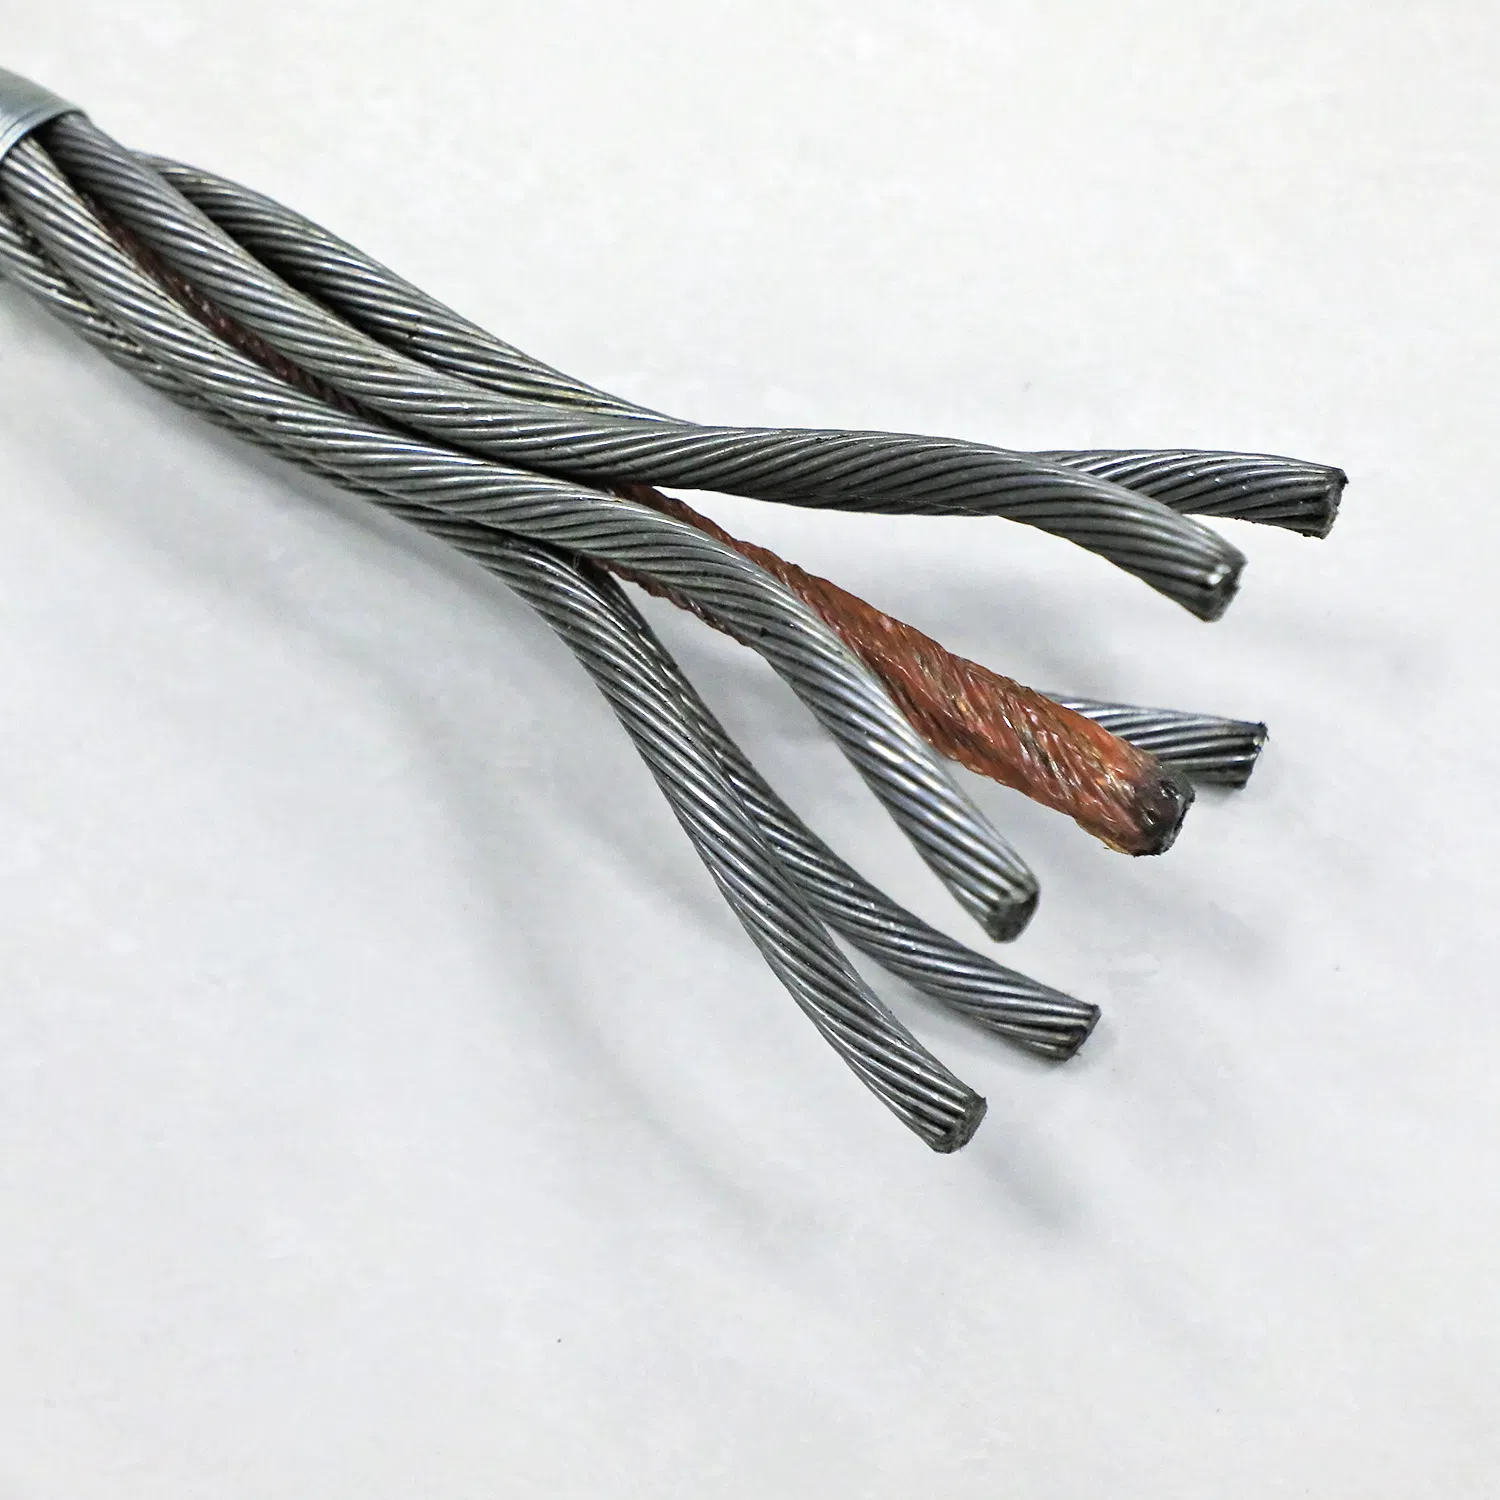
A wire rope is a group of wires, strands, and a core. Each part follows a specific path. The parts share load only when the rope keeps its intended shape. A rough cut can release stored twist. Outer strands can open. Individual wires can flare. A fiber core can pull out, and a steel core can shift.
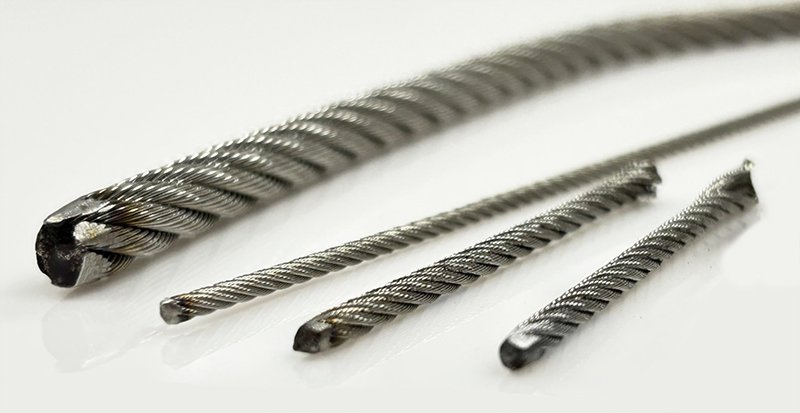
I do not judge a cut only by whether the rope is separated. I judge whether the end stays round, compact, and stable. I also check whether every strand reaches the same cutting plane. An angled or crushed end can make a ferrule sit incorrectly. It can also make a socket broom unevenly.
| Cut condition | What I see | Why it matters |
|---|---|---|
| Clean and square | Compact strands and an even face | The end fits and measures more consistently |
| Crushed | Flattened rope and distorted wires | The termination may not seat correctly |
| Frayed | Open strands and loose wires | Handling and assembly become difficult |
| Heat-damaged | Discoloration, melted coating, or fused lubricant | Rope properties and corrosion protection may change |
| Angled | One side is longer than the other | Sleeve, socket, or end stop alignment may suffer |
I Reduce Waste and Rework
An operator may cut the damaged part away and try again. This can shorten a finished assembly below tolerance. The loss becomes expensive when the rope has a large diameter, a special construction, or an imported delivery schedule.
I therefore include a cutting allowance in the production plan. I confirm the finished length measurement before cutting. I also make a sample cut when the rope construction or cutting equipment is new to the workshop.
Which Wire Rope Cutter Should I Use?
I choose the tool from the rope diameter, construction, material, coating, production volume, and required end quality. I do not choose it from price alone.
I use a cutter that can complete the cut within its rated capacity without flattening or overheating the rope. Hand cutters suit smaller ropes, while hydraulic, powered, or abrasive systems need application-specific control.
I Compare Common Cutting Methods
Hand cable cutters can produce a controlled shear on small wire ropes when the jaws are sharp and correctly shaped. Ratchet cutters reduce hand force, but their stated capacity still matters. A tool rated for soft cable may not be suitable for high-tensile steel wire rope.
Hydraulic cutters provide high force and repeatability. I prefer them for larger diameters and regular production. I check the blade profile, hydraulic condition, guarding, and manufacturer capacity. I replace worn blades before they begin folding wires instead of cutting them.
A powered chop saw or abrasive wheel can handle some constructions, but it adds heat, sparks, dust, and a larger affected area. I use it only under an approved process. I control fire risk, ventilation, personal protection, and the effect on lubrication or plastic.
| Cutting method | Suitable starting point | Main benefit | Main control point |
|---|---|---|---|
| Compound-action hand cutter | Small-diameter rope | Portable and simple | Jaw condition and rated diameter |
| Ratchet cutter | Small to medium rope within rating | Lower hand effort | Blade alignment and complete stroke |
| Hydraulic cutter | Medium to large rope | High force and repeatability | Correct die, maintenance, and guarding |
| Powered shear | Repeated factory cutting | Fast production | Setup, blade clearance, and operator training |
| Abrasive wheel | Approved special cases | Broad material capability | Heat, sparks, fumes, and end preparation |
I Reject Improvised Tools
I do not use ordinary pliers, bolt cutters, a cold chisel, or repeated hammer blows on a critical rope. These tools often crush the rope before separation. They can also release sharp wires without control.
I never exceed a cutter rating. A high-tensile compacted rope can require much more cutting force than a similar-looking general-purpose cable. I ask the cutter manufacturer to confirm the rope material, diameter, and construction when the limit is uncertain.
How Do I Prepare Wire Rope Before Cutting?
I prepare the rope before I bring a blade near it. Good preparation controls movement and preserves the construction during separation.
I mark the exact cutting point, straighten and support the rope, apply suitable seizing on both sides, control stored tension, and create a clear exclusion area before I start the cut.
I Confirm Length and Orientation
I first confirm how the finished length will be measured. An eye-to-eye sling, a socketed assembly, and a bare rope can use different reference points. I include the required turnback, socket broom, sleeve position, machining allowance, or splice allowance.
I also record rope lay and reel direction when they affect the next process. I do not let a long rope roll freely across the floor. I support it so the cut area stays stable and the remaining rope does not kink.
I Use Seizing That Matches the Rope
Seizing holds the strands together. I place it close enough to the cut to control the end, but I leave room for the cutter and the next operation. I seize both sides because either side can open after separation.
The seizing method depends on rope construction and the termination process. Annealed wire can suit many steel wire ropes. Tape can support a small general-purpose cable, but tape alone may not control a large, rotation-resistant, or compacted rope. Welding the rope end can change material properties and is not a universal substitute.
| Preparation item | My check | Warning sign |
|---|---|---|
| Length mark | The mark uses the agreed reference | The operator is measuring from an undefined point |
| Rope support | The rope lies straight and stable | The rope is bent, hanging, or able to roll |
| Seizing | Both sides are secured for the construction | Strands can move when the cut releases |
| Stored load | The rope is fully unloaded | The rope can recoil or shift suddenly |
| Work area | People and flammables are controlled | Hands, hoses, or loose material are near the blade |
I Control Stored Energy
I never cut a rope that is carrying a load or held under unknown tension. I isolate the equipment and verify a zero-energy condition. A rope can store rotational or bending energy even after the main load is removed.
I keep my body away from the expected movement path. I wear eye protection, suitable gloves, and other protection required by the task. Gloves reduce contact with broken wires, but they do not make it safe to place a hand beside moving blades.
What Steps Do I Follow for a Clean Cut?
I use a short and repeatable process. I stop when the tool or rope behaves differently from the approved setup.
I align the cutter square to the rope, keep the rope fully supported, complete the cut in one steady cycle, release the tool safely, and inspect both new ends before removing the seizing.
I Align the Blade Before Applying Force
I place the rope in the intended area of the jaws. I make sure the blade is perpendicular to the rope axis. I do not begin on the edge of a worn jaw. A partial bite can push strands sideways and damage the blade.
For a hydraulic cutter, I check that the rope cannot escape when pressure rises. I keep hoses away from sharp surfaces. I follow the tool manufacturer’s operating instructions and maintenance limits.
I Make One Controlled Cut
I apply force smoothly. I do not twist the cutter to finish the last wires. Twisting can bend the end and chip a hardened blade. If the cutter stalls, I release it according to its instructions and investigate the cause.
I do not repeat cuts across different planes unless an approved method requires it. Multiple bites can create a stepped end. If the tool cannot complete the cut, I select a larger suitable cutter.
I Secure the Ends After Separation
I support each end as it separates. I mark the remaining rope and the cut length for traceability. I cover or position sharp ends so other workers cannot contact them.
I keep the seizing in place until the next operation permits removal. For a socket, splice, or sleeve, I follow the termination manufacturer’s instructions. The correct preparation for one termination can be wrong for another.
How Do I Inspect the Cut End?
I inspect the end before I accept it for assembly. This check takes little time and can prevent a larger failure later.
I confirm that the end is square, round, compact, clean, and free from heat damage, cracked wires, displaced strands, pulled core, coating damage, and excessive burrs before installation continues.
I Check Shape and Condition
I compare the cut end with the original rope diameter. I look for flattening and strand separation. I verify that the core remains centered. I remove only loose burrs under an approved process. I do not grind deeply into load-bearing wires.
For coated rope, I inspect the coating near the cut. A split can travel beyond the seizing. For plastic-impregnated rope, I check whether the polymer and strands stayed in their designed positions. I ask the rope manufacturer when special end preparation is needed.
| Inspection point | Acceptable result | Action when unacceptable |
|---|---|---|
| Squareness | Even cutting plane | Recut with adequate allowance |
| Roundness | No visible crushing | Reject or rework under an approved method |
| Strand position | Strands remain compact | Maintain seizing and obtain technical review |
| Core position | Core remains centered | Stop before fitting installation |
| Surface condition | No harmful heat mark or crack | Remove the affected length if approved |
| Identification | Rope and cut length remain traceable | Restore identification before processing |
I Record Repeat Problems
One bad cut may be an operator error. Repeated bad cuts usually point to a worn blade, wrong capacity, poor setup, or unsuitable process. I record the rope construction, diameter, tool, blade, and defect. This gives the workshop useful evidence instead of guesses.
I also inspect the cutter. A small chip can damage every rope that follows. Planned blade replacement costs less than repeated rope scrap and delayed deliveries.
How Do I Specify Cutting Requirements to a Supplier?
I put the required end condition and length method in the purchase order. The words “cut to length” are not enough for a critical assembly.
I specify rope construction, diameter, grade, finish, cut length, tolerance, measurement points, end preparation, seizing, packaging, identification, inspection records, and the planned termination or field use.
I Use a Practical Purchase Checklist
| RFQ item | Information I provide |
|---|---|
| Rope | Construction, core, grade, lay, and finish |
| Size | Nominal diameter and applicable tolerance |
| Length | Required length and measurement reference |
| End condition | Seized, welded if approved, capped, or prepared for a named fitting |
| Quantity | Number of pieces and permitted length variation |
| Traceability | Heat, reel, batch, or assembly identification |
| Documents | Material certificate, inspection report, or test scope |
| Packing | Coil, reel, end protection, labels, and export requirements |
I can prepare wire rope and specialized assemblies to controlled drawings. I can also support galvanized and plastic-impregnated options. When the ordered rope falls within its scope, I can supply products compliant with EN 12385-4 and arrange relevant certification requirements defined before production.
I always separate rope certification from finished assembly approval. The buyer should state whether BV, CE, RMRS, DNV, ABS, a witness test, or another document is required. The exact scope affects production, inspection, and delivery time.
Conclusion
I protect every termination by selecting the right cutter, seizing the rope, controlling stored energy, making one square cut, and inspecting the end before assembly.